
How to Publish an iOS App on the Apple App Store: Step-by-Step Guide
How to publish an iPhone app on the App Store: Apple Developer Program, certificates, App Store Connect, TestFlight, privacy labels, account deletion, and App Review tips.
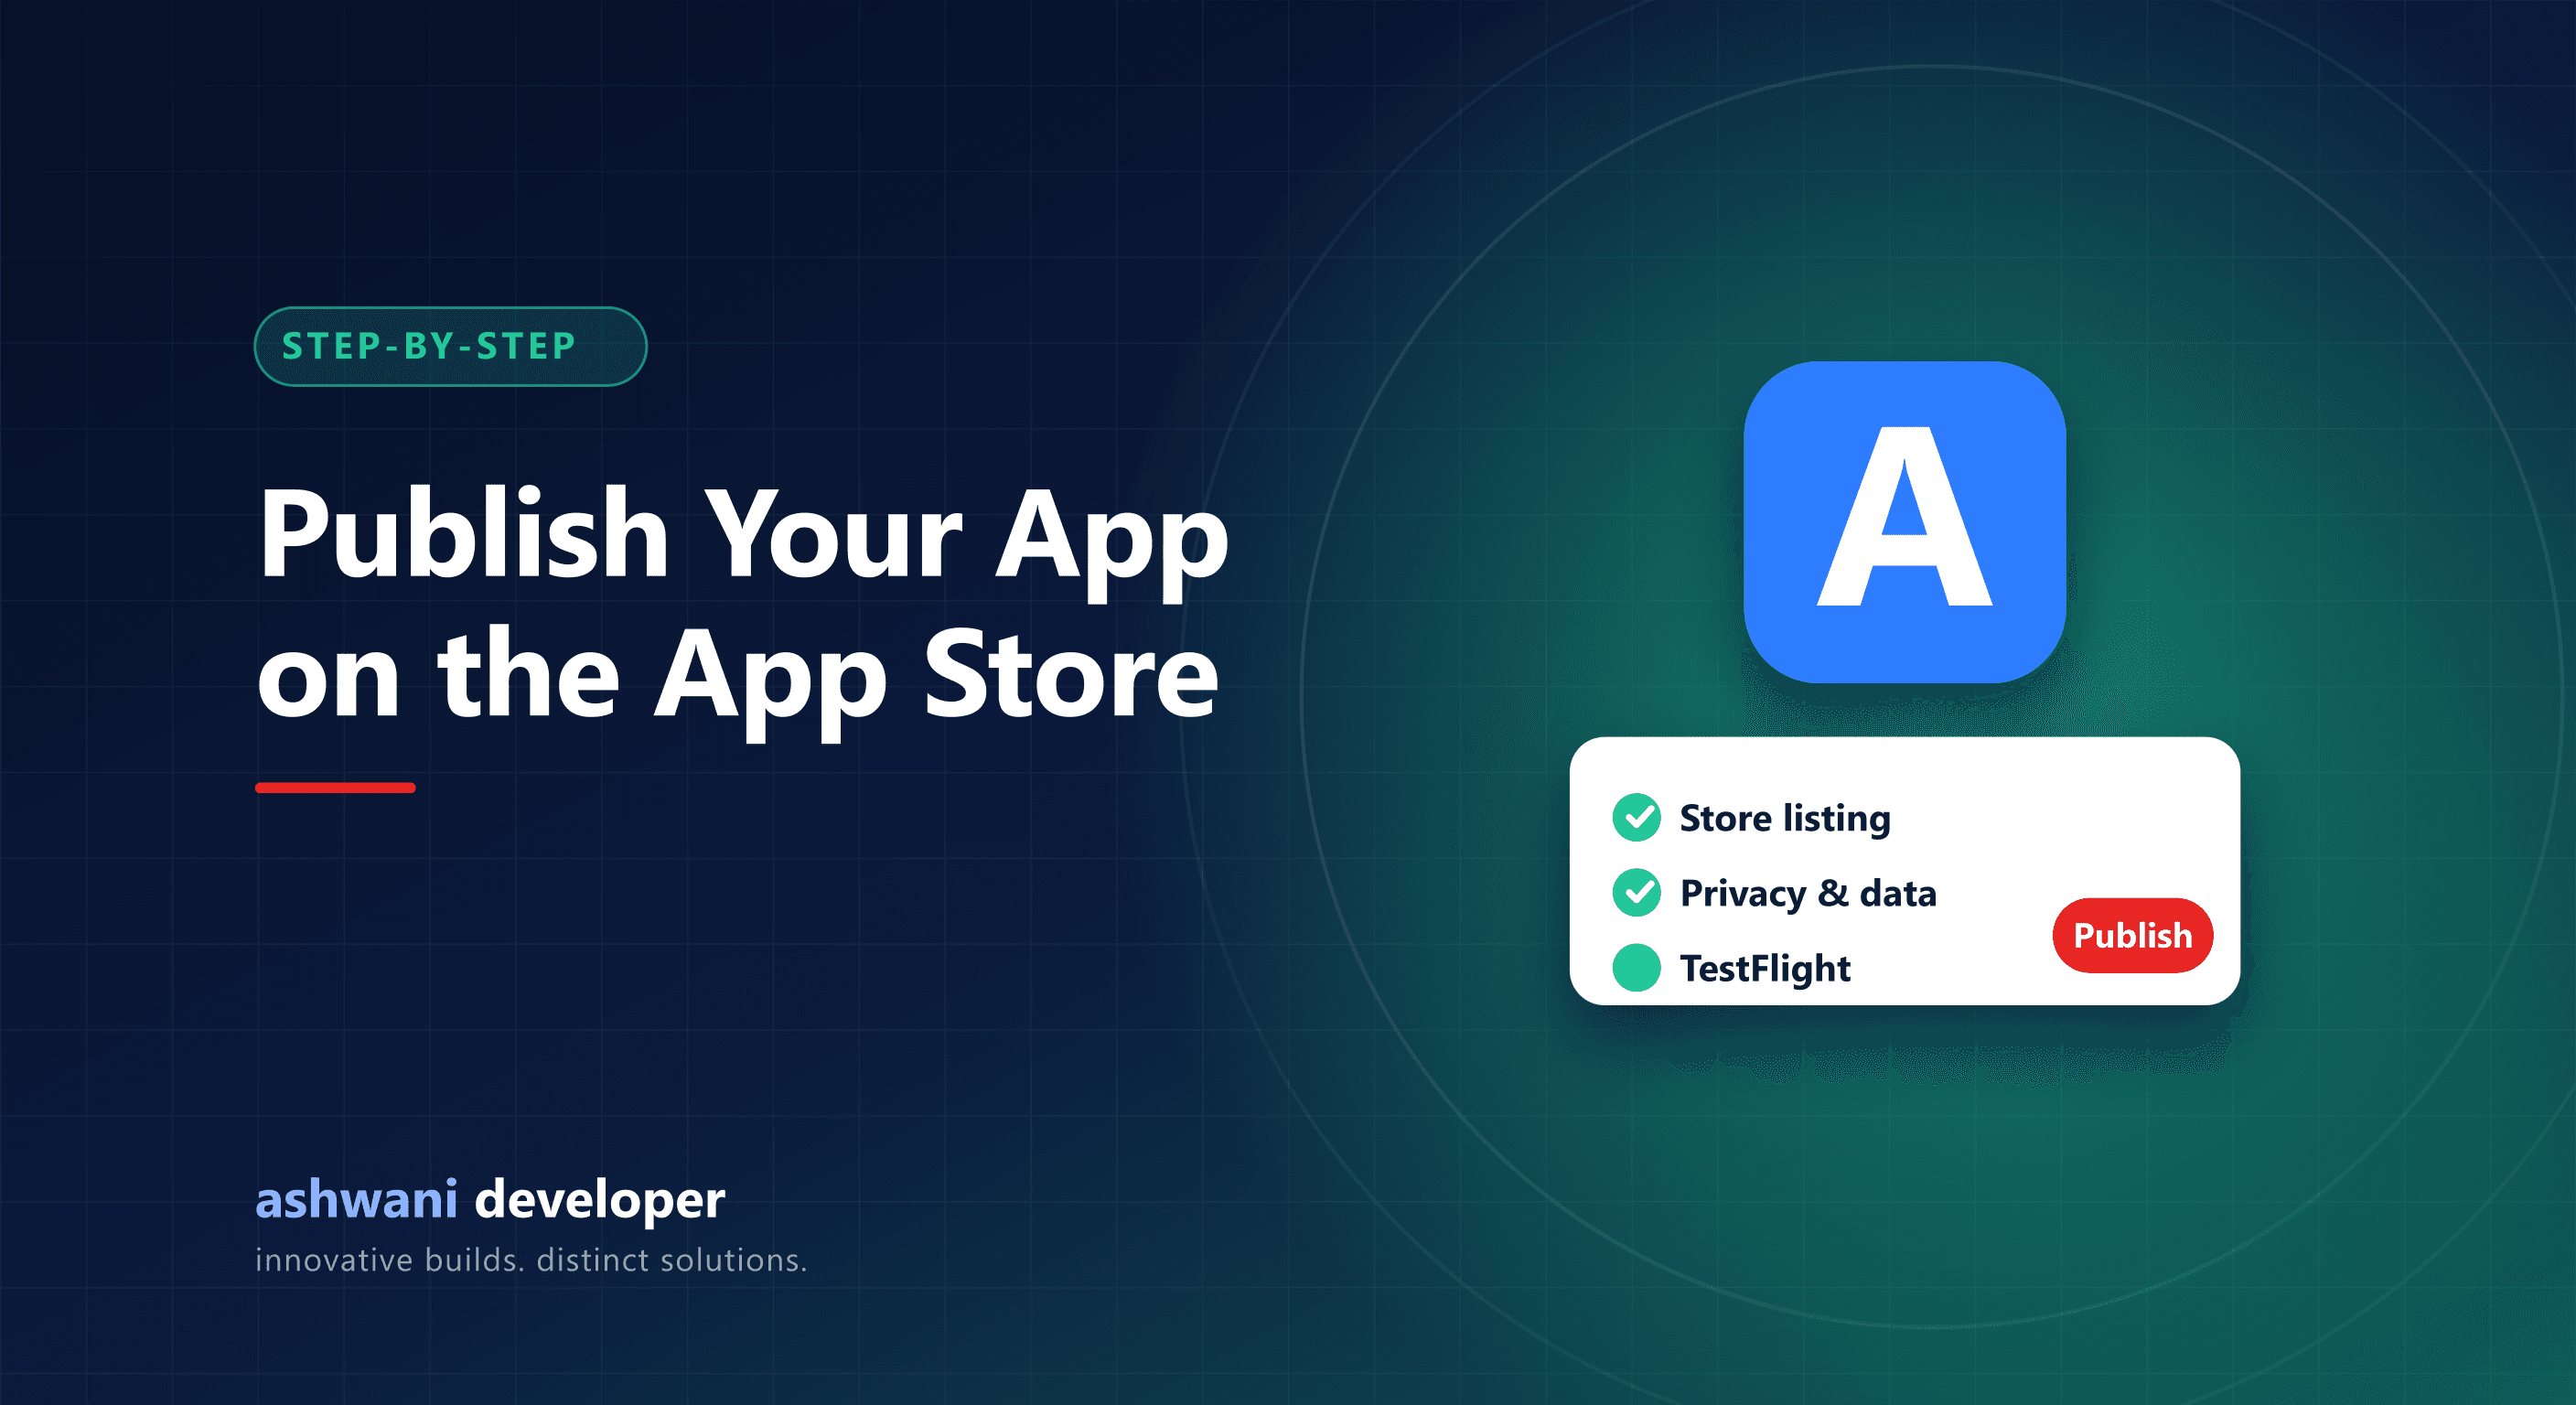
Quick answer: enrol in the Apple Developer Program, create the app in App Store Connect, upload a signed build, test it with TestFlight, complete the listing, privacy details, and age rating, then submit for App Review. Apps that let users create accounts must also let them delete the account from within the app.
Step 1: Enrol in the Apple Developer Program
Enrolment requires an Apple Account with two-factor authentication and an annual membership fee. You can enrol as:
- Individual: your personal name appears as the seller.
- Organisation: your company name appears as the seller. Requires a D-U-N-S number and legal entity verification, which can take some time, so start early.
Step 2: Set up identifiers and signing
- Register a unique Bundle ID.
- Enable the capabilities your app uses, such as push notifications or Sign in with Apple.
- Use automatic signing in Xcode, or a cloud build service such as Expo's EAS Build for React Native apps, which handles certificates and provisioning profiles.
You need Apple tooling to build iOS apps, either a Mac or a cloud build service.
Step 3: Create the app in App Store Connect
Add the app name, primary language, Bundle ID, and SKU. Then prepare the listing:
- Subtitle and description.
- Keywords field, which is used for App Store search.
- Screenshots for the required device sizes.
- Support URL, marketing URL, and privacy policy URL.
Step 4: Complete privacy and compliance details
- App Privacy details (often called privacy nutrition labels) describing the data your app and any third-party SDKs collect.
- Age rating questionnaire.
- Export compliance for encryption use.
- Account deletion: if users can create an account, they must be able to start deleting it from within the app.
- Sign in with Apple may be required if you offer certain third-party login options; check the current guidelines.
Step 5: Upload a build and test with TestFlight
Upload from Xcode or your build service. Builds appear in App Store Connect after processing. Use TestFlight to distribute to internal testers immediately and external testers after a light beta review. Fix crashes and confusing flows before submitting.
Step 6: Submit for App Review
Select the build, answer review questions, and provide a demo account if login is required. Add notes explaining anything non-obvious, such as features that require specific hardware or locations.
Common rejection reasons and how to avoid them
| Reason | How to avoid |
|---|---|
| Crashes or broken features | Test thoroughly on real devices with TestFlight |
| Missing demo login | Provide working credentials in review notes |
| Incomplete metadata or placeholder content | Use final screenshots and text |
| Privacy details do not match behaviour | Audit every SDK's data collection |
| Minimal functionality | Offer real value beyond a wrapped website |
| Digital goods without in-app purchase | Follow Apple's payment rules for digital content |
Step 7: Release
After approval, release manually, automatically, or with phased release, which rolls out updates to users gradually.
After launch
- Monitor crashes in Xcode Organizer or your crash reporting tool.
- Respond to reviews.
- Test against each new iOS version before it ships.
Launching on Android too? Follow the Google Play publishing guide, and read Android or iOS first.
App Store submission is part of every project on the app development service. If your app keeps getting rejected, share the rejection message for help.