
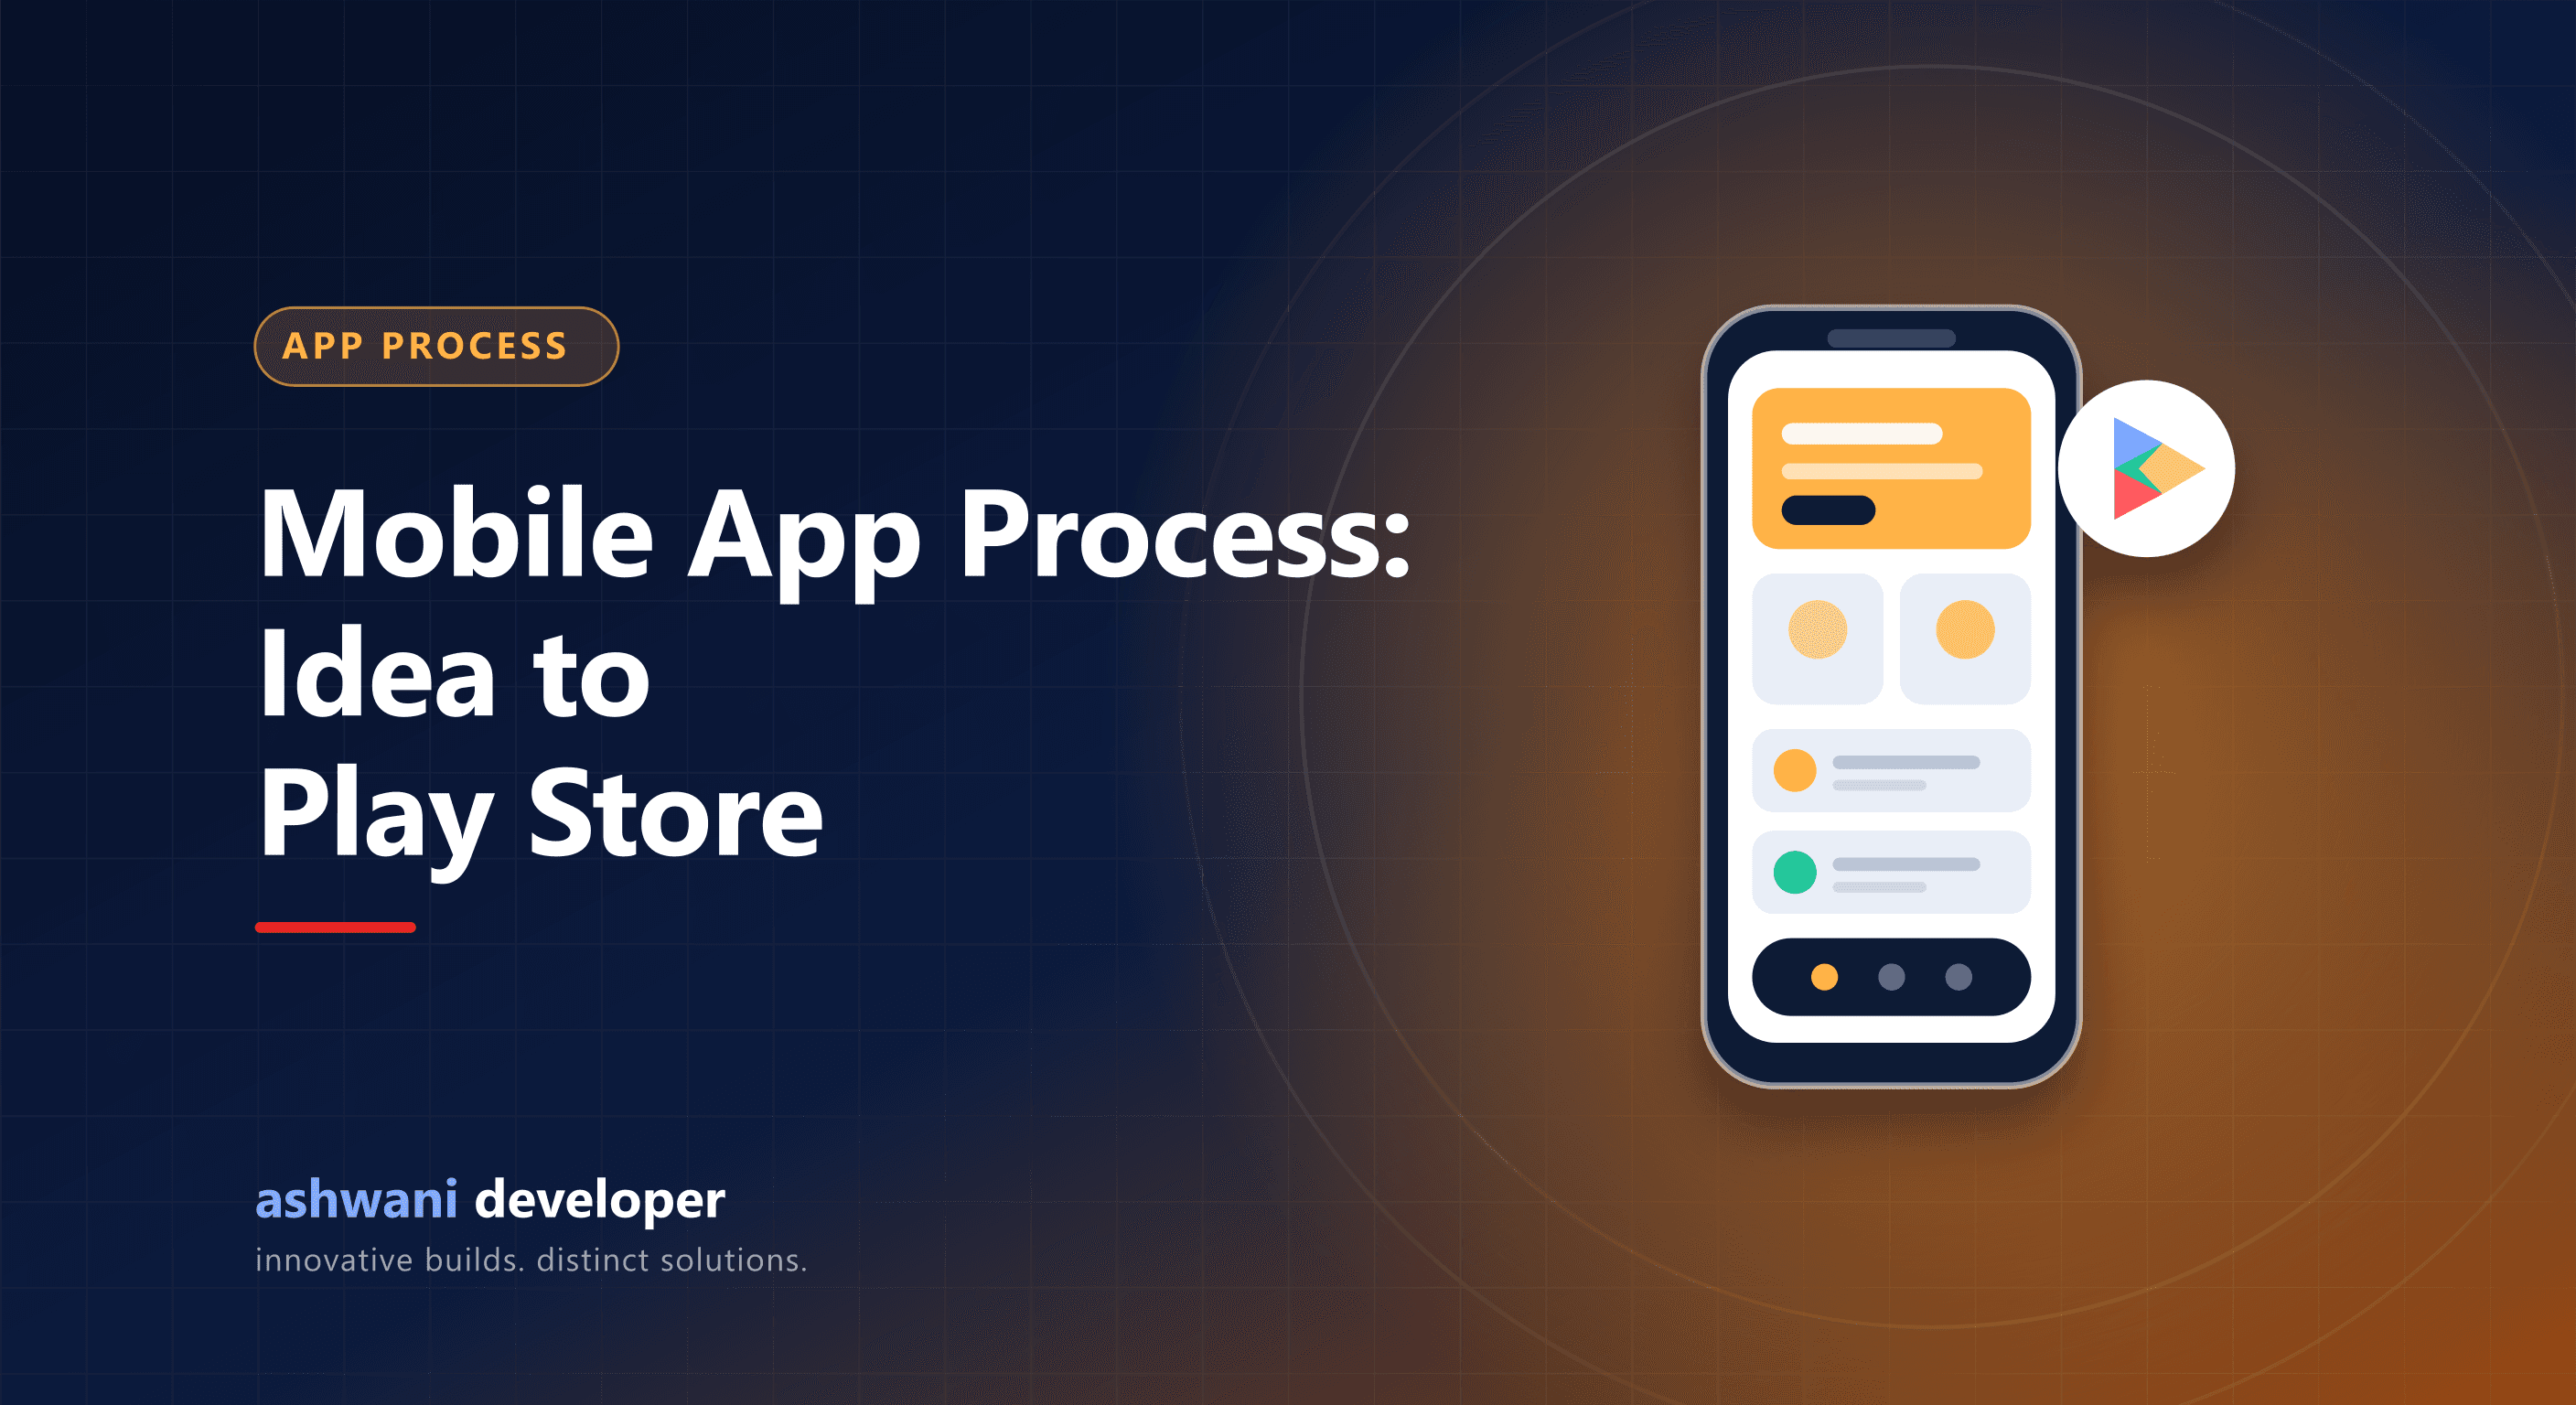
Mobile App Development Process: From Idea to Google Play Store
The real stages of building a mobile app: discovery, design, API, development, testing, store submission, and post-launch, with what to prepare at each step.
Building a mobile app can feel mysterious if you have not done it before. In practice, it follows a predictable sequence. Knowing the stages helps you plan a budget and timeline, prepare the right materials, and ask better questions of the developer you hire.
Stage 1: Discovery and scope
Define who the app is for, the single problem it solves, and the smallest version that delivers value, often called an MVP. Write the core user journeys, such as sign up, perform the main action, and pay. The most common cause of budget overruns is starting with too many features, so ruthlessly separate must-haves from later phases.
Stage 2: UX and UI design
Designers turn the journeys into wireframes and then into polished screens. Review the flow on a phone-sized prototype before any code is written, because changes are cheapest at this stage. Our UI/UX design service covers this step.
Stage 3: Architecture and backend
Choose the technology and design the API and database. Decide how users sign in, where data is stored, how files and notifications are handled, and how payments are processed. A well-designed backend and admin panel is what keeps an app reliable as users grow. Framework choice is covered in React Native vs Flutter.
Stage 4: Development in milestones
The app is built in short cycles, each ending in a working build you can install and test. Insist on seeing real builds on a real device regularly rather than waiting for a single reveal at the end.
Stage 5: Testing
Testing covers functionality, different screen sizes and Android versions, slow and offline networks, permission prompts, and security checks. Real devices matter; emulators miss many problems.
Stage 6: Prepare your store listing
For Google Play, you need a developer account, the app bundle, an icon, screenshots, a short and full description, a content rating questionnaire, and a privacy policy URL. Apps that handle user data also need clear data-safety disclosures, and apps with accounts need a way to request deletion. A hosted policy page is the simplest solution; see how we handle this in the legal hub used for our own apps.
Stage 7: Submit and release
Upload the build, complete the store forms, and submit for review. New developer accounts may need a period of closed testing with real testers before production access is granted, so plan time for this. Review can take from hours to several days, and rejections are usually about policy details such as permissions or missing disclosures.
Stage 8: After launch
Launch is the beginning. Monitor crashes and reviews, release fixes quickly, and ship improvements based on real usage. Plan a maintenance budget for operating system updates, dependency upgrades, and server costs.
How long does it take?
A focused MVP is typically measured in weeks to a few months, while larger products with several user roles, payments, and an admin dashboard take longer. A good developer gives you a milestone plan with dates after discovery.
Start with a clear brief
The more clearly you can describe the problem, the users, and the first release, the faster and cheaper the project goes. Read about the app development service, or send your idea and get a scoped plan and estimate.